Site Logo
Site Logo
By default, your website will include the UCLA Health logo in both the header and footer of your website. You have the option to change your website's logo or to use your website without a logo.
To remove a site logo
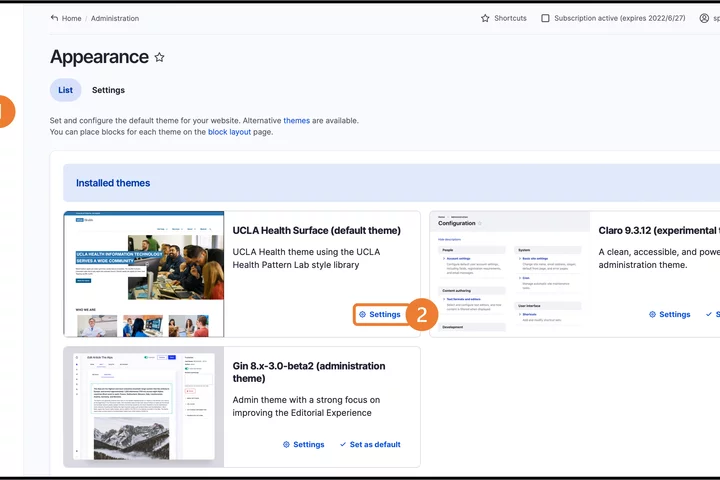
- Select Appearance.
- Click on Settings.
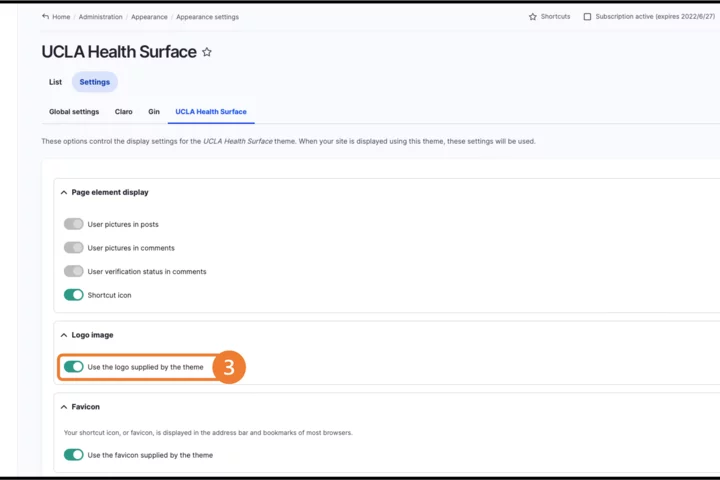
- Toggle off the box for Use the logo supplied by the theme.
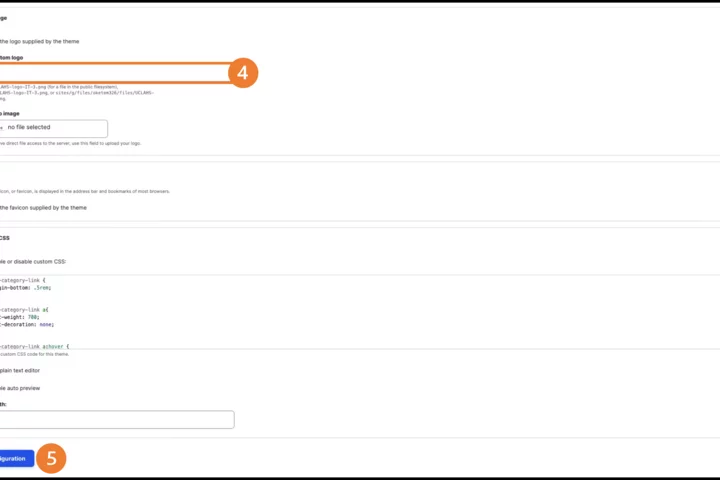
- Delete any text in the Path to custom logo.
- Scroll to the bottom of the screen and click Save configuration.
To change the logo on your site
- Select Appearance.
- Click on Settings.
- Toggle off the box for Use the favicon supplied by the theme.
- There are two ways to add a new logo
- If you have a logo updated elsewhere upload the URL path to the Path to custom logo.
- Upload you .svg file to the Upload logo image
- Scroll to the bottom of the screen and click Save configuration.
If your logo is not displaying, there are 3 possible reasons.
- randing Blocks may have been changed already.
If your logo is not displaying, it is possible you or someone else made a change to the branding block on your site.- Click Manage, then select Structure and finally click Block Layout.
- Scroll to the Site branding section.
- Click on the Configure button.
- Confirm that the Site logo checkbox is checked.
- .svg file configuration issues.
- f you still do not see your new logo, the .svg file may not have the image size defined within the image. We recommend that the image size should be 290px X 60px.
- f you still do not see your new logo, the .svg file may not have the image size defined within the image. We recommend that the image size should be 290px X 60px.
- Browser Cache.