Media and Files
Managing Media Assets
You are able to add many different types of media onto your page. You are able to add Audio, Documents, Images, SVG and Videos to your site. Below is detailed information on how to manage media assets.
Alert
Please note: If you are uploading a GIF, you cannot change the size of the image in the Editor or it will not function properly. GIF images must be left in their default size.
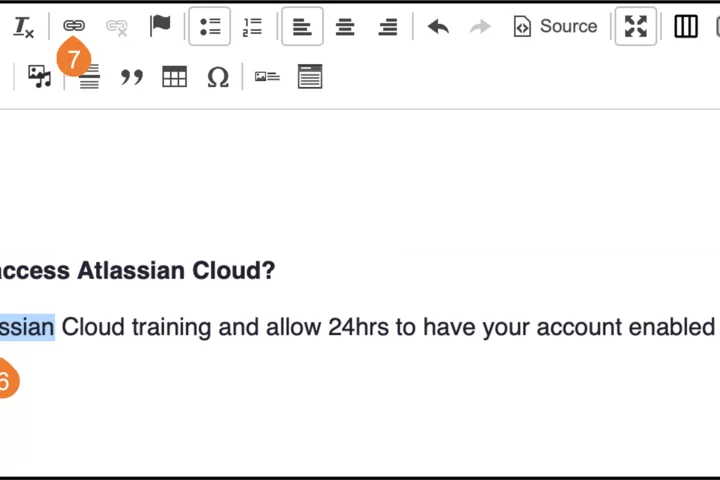
To upload an media using the WYSIWYG toolbar
- Select the appropriate WYSIWYG
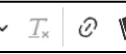
- Select the Insert from Media Library icon

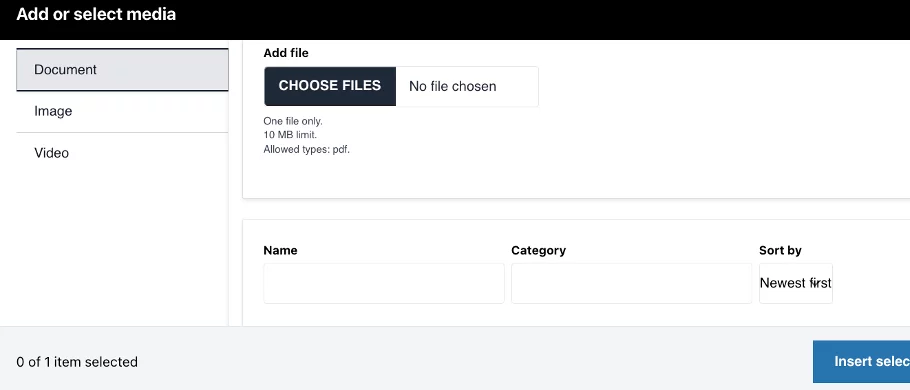
- Select the desired media type option from the list
- Select the Choose File button to upload a new image or search and select an existing image. If you upload an image, you will need to add the image alternate text. Then, click Save.
- Click the insert selected button.
- Click save.
To upload images in the Media Module
- Go to the Administration panel and select the Content button
- Select the Media tab
- Click the Add media button

- Select appropriate media from the Add media item menu
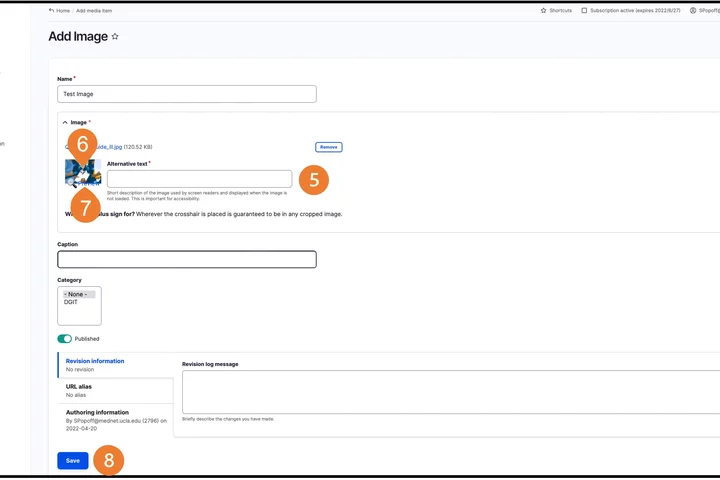
- Enter an image name and alternative text. You will also need to add a Caption if you want to display the image caption.
- Move the crosshairs to the main focal point of the image
- Click on Preview and Verify the image is displaying correctly
- Click Save
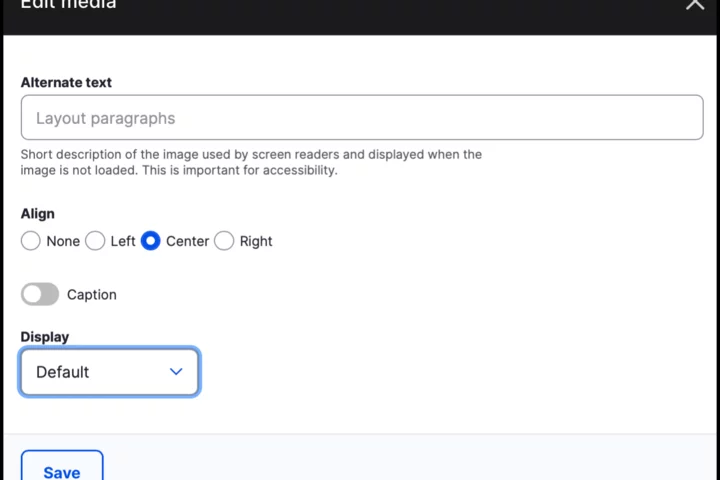
- Once the image is added, select the Edit media button to adjust the image placement and size, and then click Save
- Align - Select the appropriate alignment for the image. You may need to play with the alignment to see what works best for your content
- Caption - Check this option to show the image caption
- Display - Select your image size preference
Edit media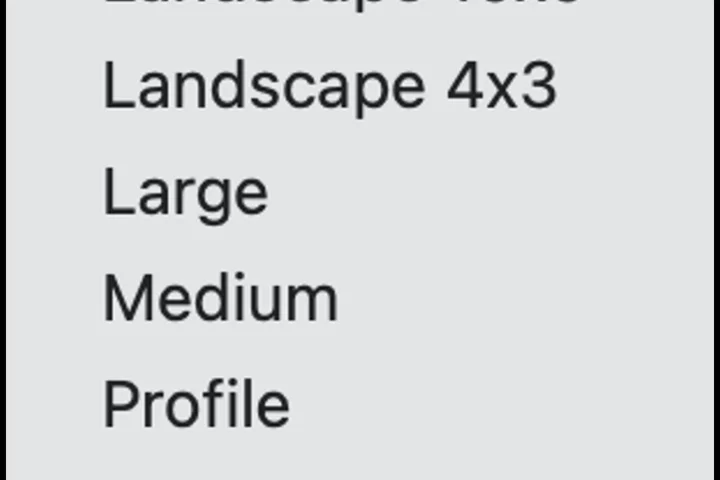
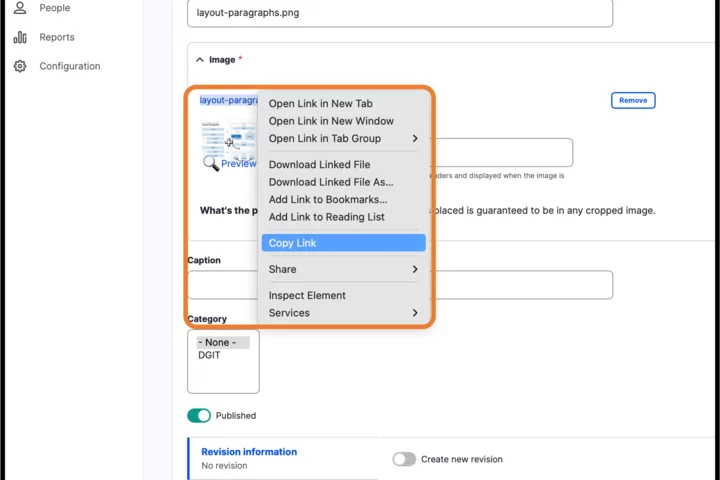
To link a file to the content on your page
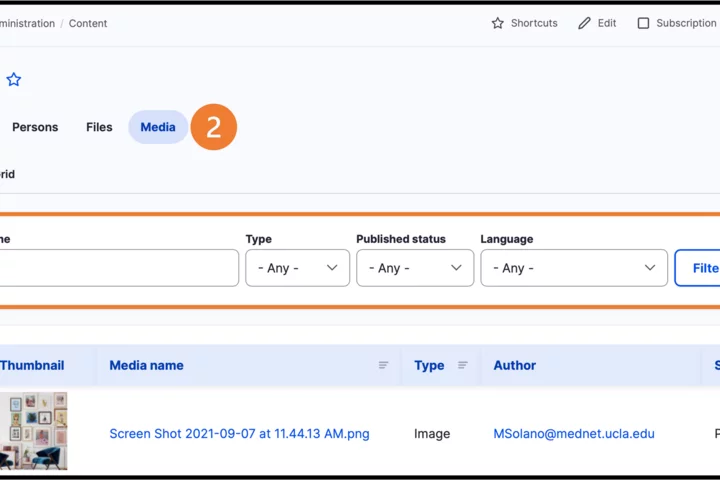
- Go to the Administration panel and click the Content button
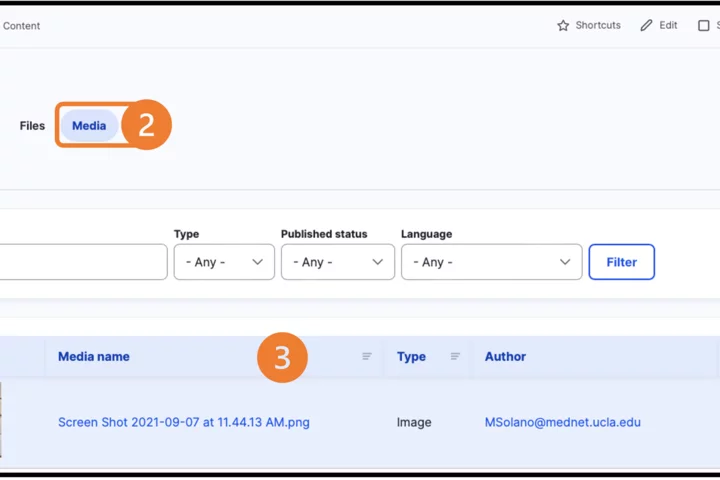
- Select the Media tab. This is where all media files are stored and managed
- Locate the file using the search option
- Click on the file name link

- Right click on the file name and select the Copy link address option
- Return to the page where the link is needed. Highlight the text where the file will be linked
- Click the link icon
- Add the URL.
The referenced media source is missing and needs to be re-embedded.
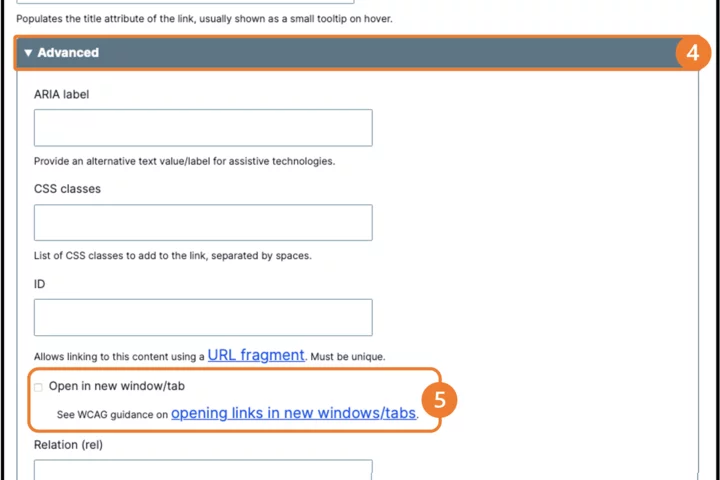
- Expand the Advanced section.
- Select Open in new window/tab.
- Click Save.
- Publish the changes and confirm the link works
To update a media file
- Go to the Administration panel and click the Content button
- Select the Media tab. This is where all media files are stored and managed
- Locate the media file using the search option
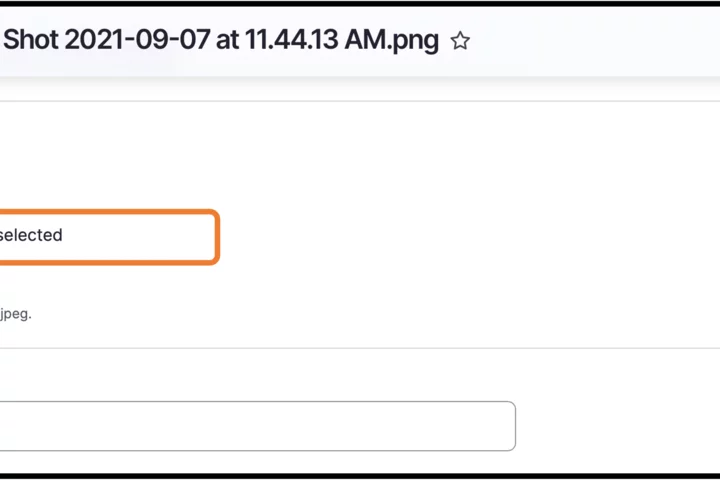
- Click the Choose File button and select the updated file
- Click Save. The file will be updated everywhere it appears on your website
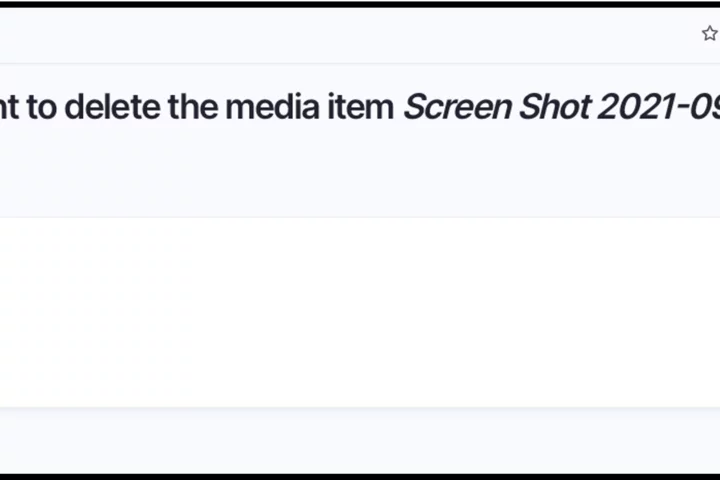
To delete a media file
- Click the Content button
- Select the Media tab
- Locate the media file
- Click the Operations drop down menu and select Delete
- Click Save. The file will be removed from everywhere it appeared on your website
Media files that have not been added to a content type (such as a Page, Event, Article, or Profile) will be deleted after 6 months.